Creating a new Discord application
Creating a Discord application is easy, and it provides VoiceTwine with the bot user necessary to function.
These steps are not required when using the official Discord bot.
Creating a Discord application
To create your Discord application, head over to the Applications page on the Discord Developer site.
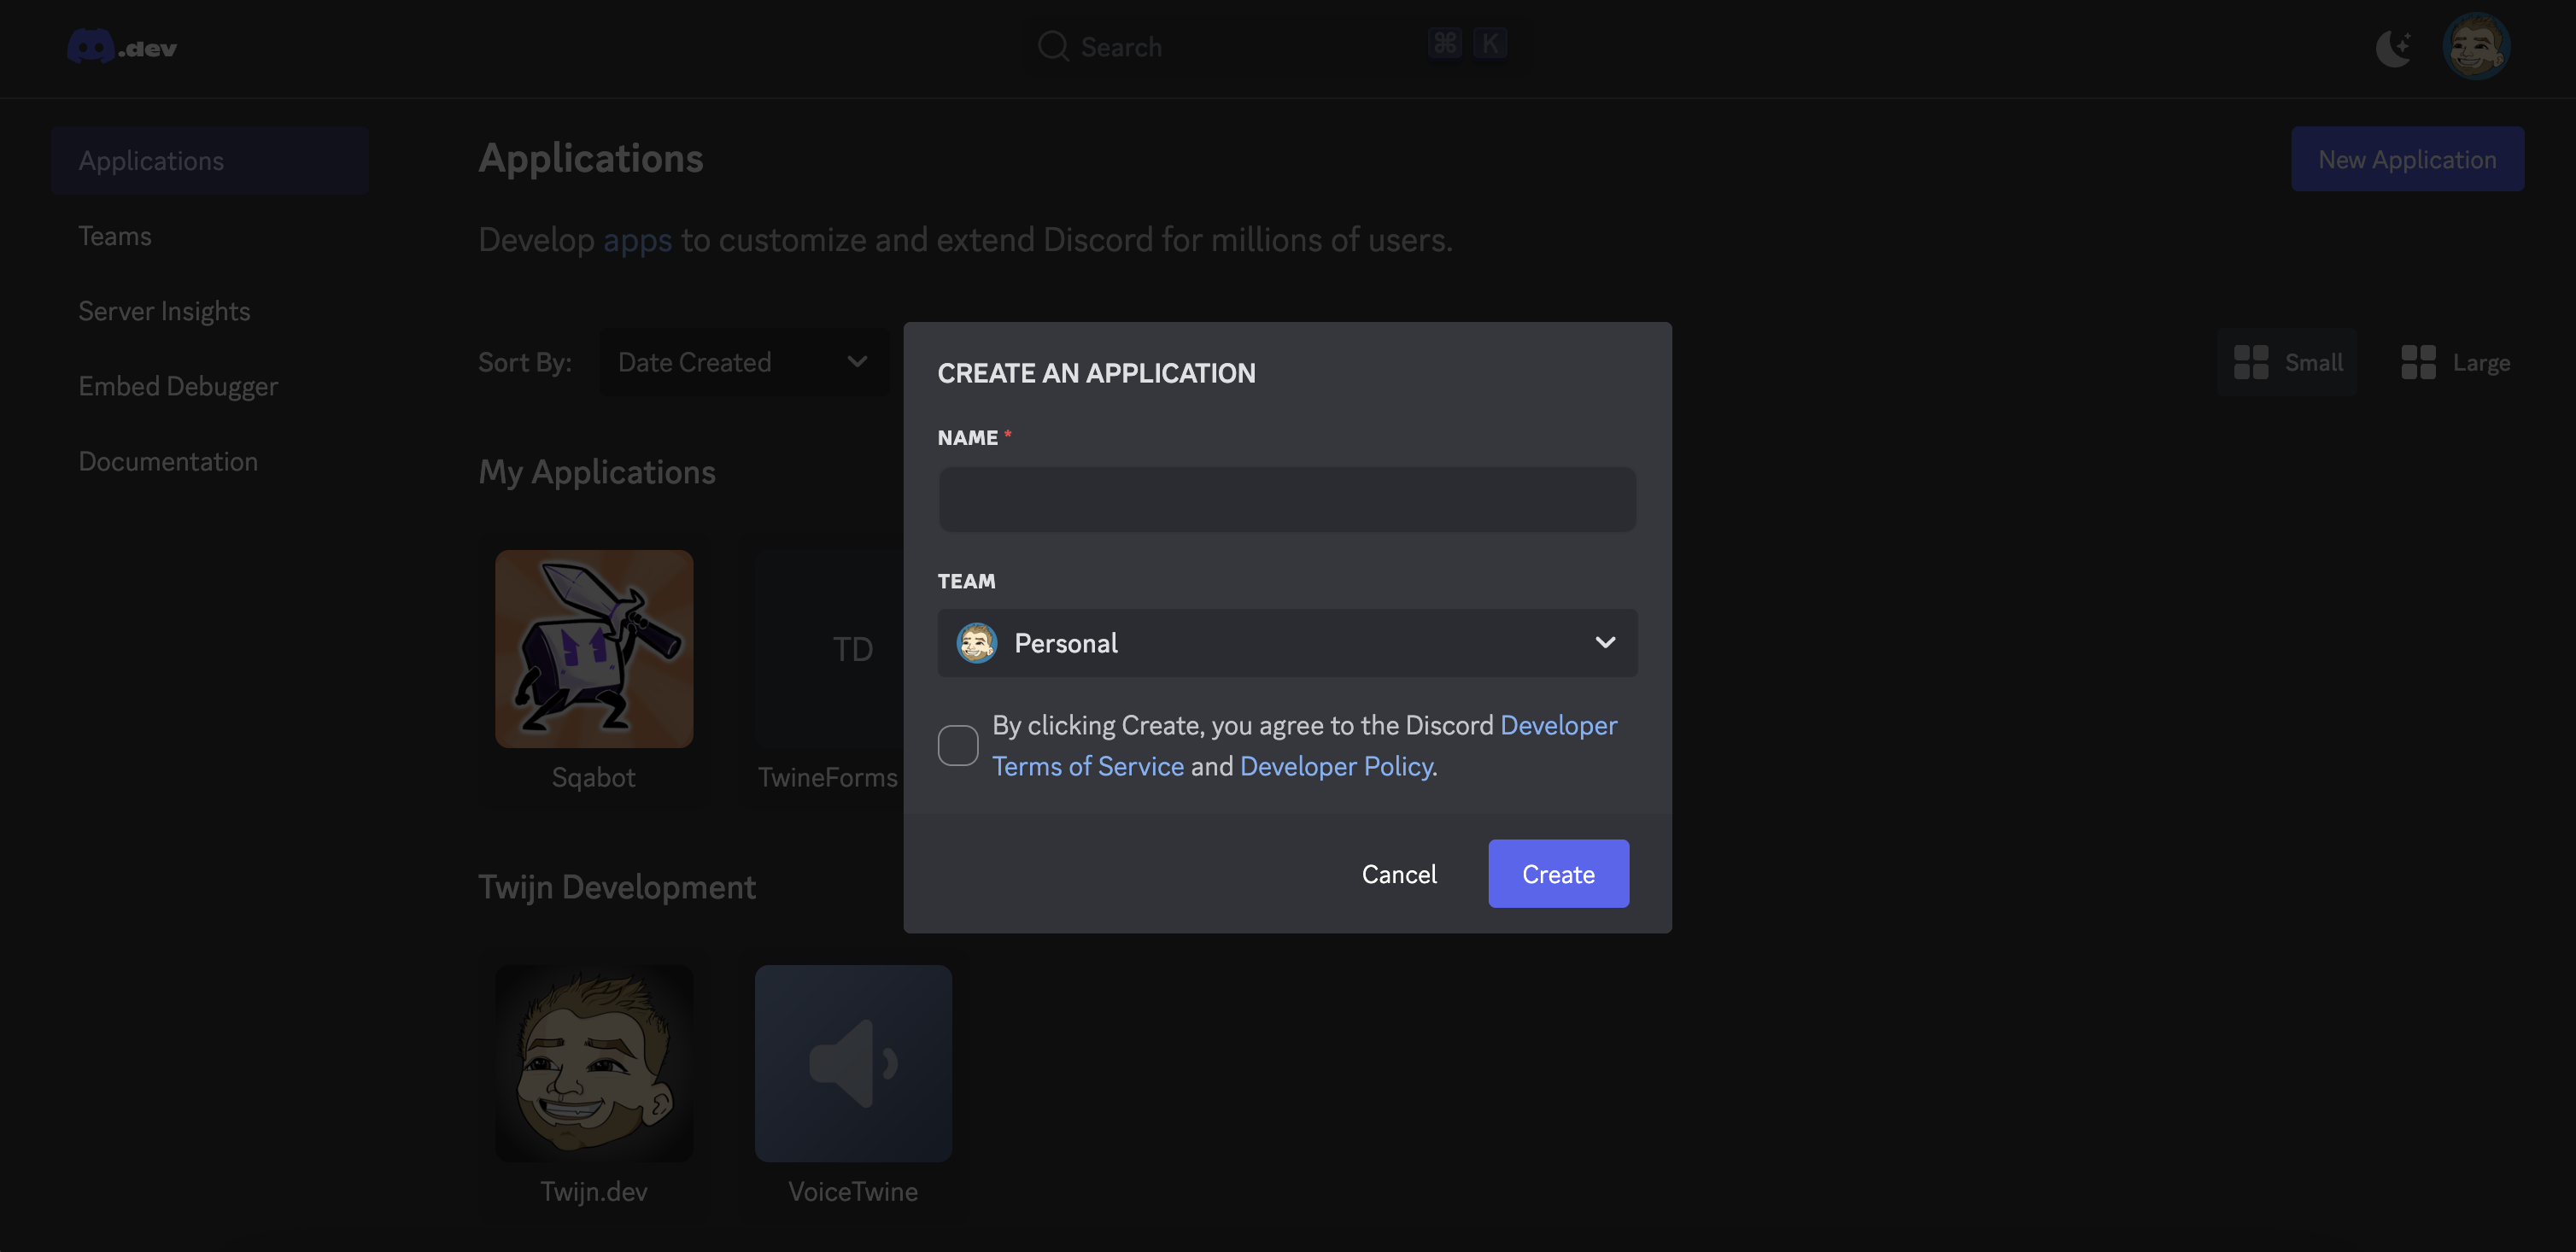
Give your new application a name, an optional team, and agree to the Terms of Service and Developer Policy.
Grabbing your Client ID and Client Secret
First, head over to the OAuth2 Tab to grab your client ID and client secret.
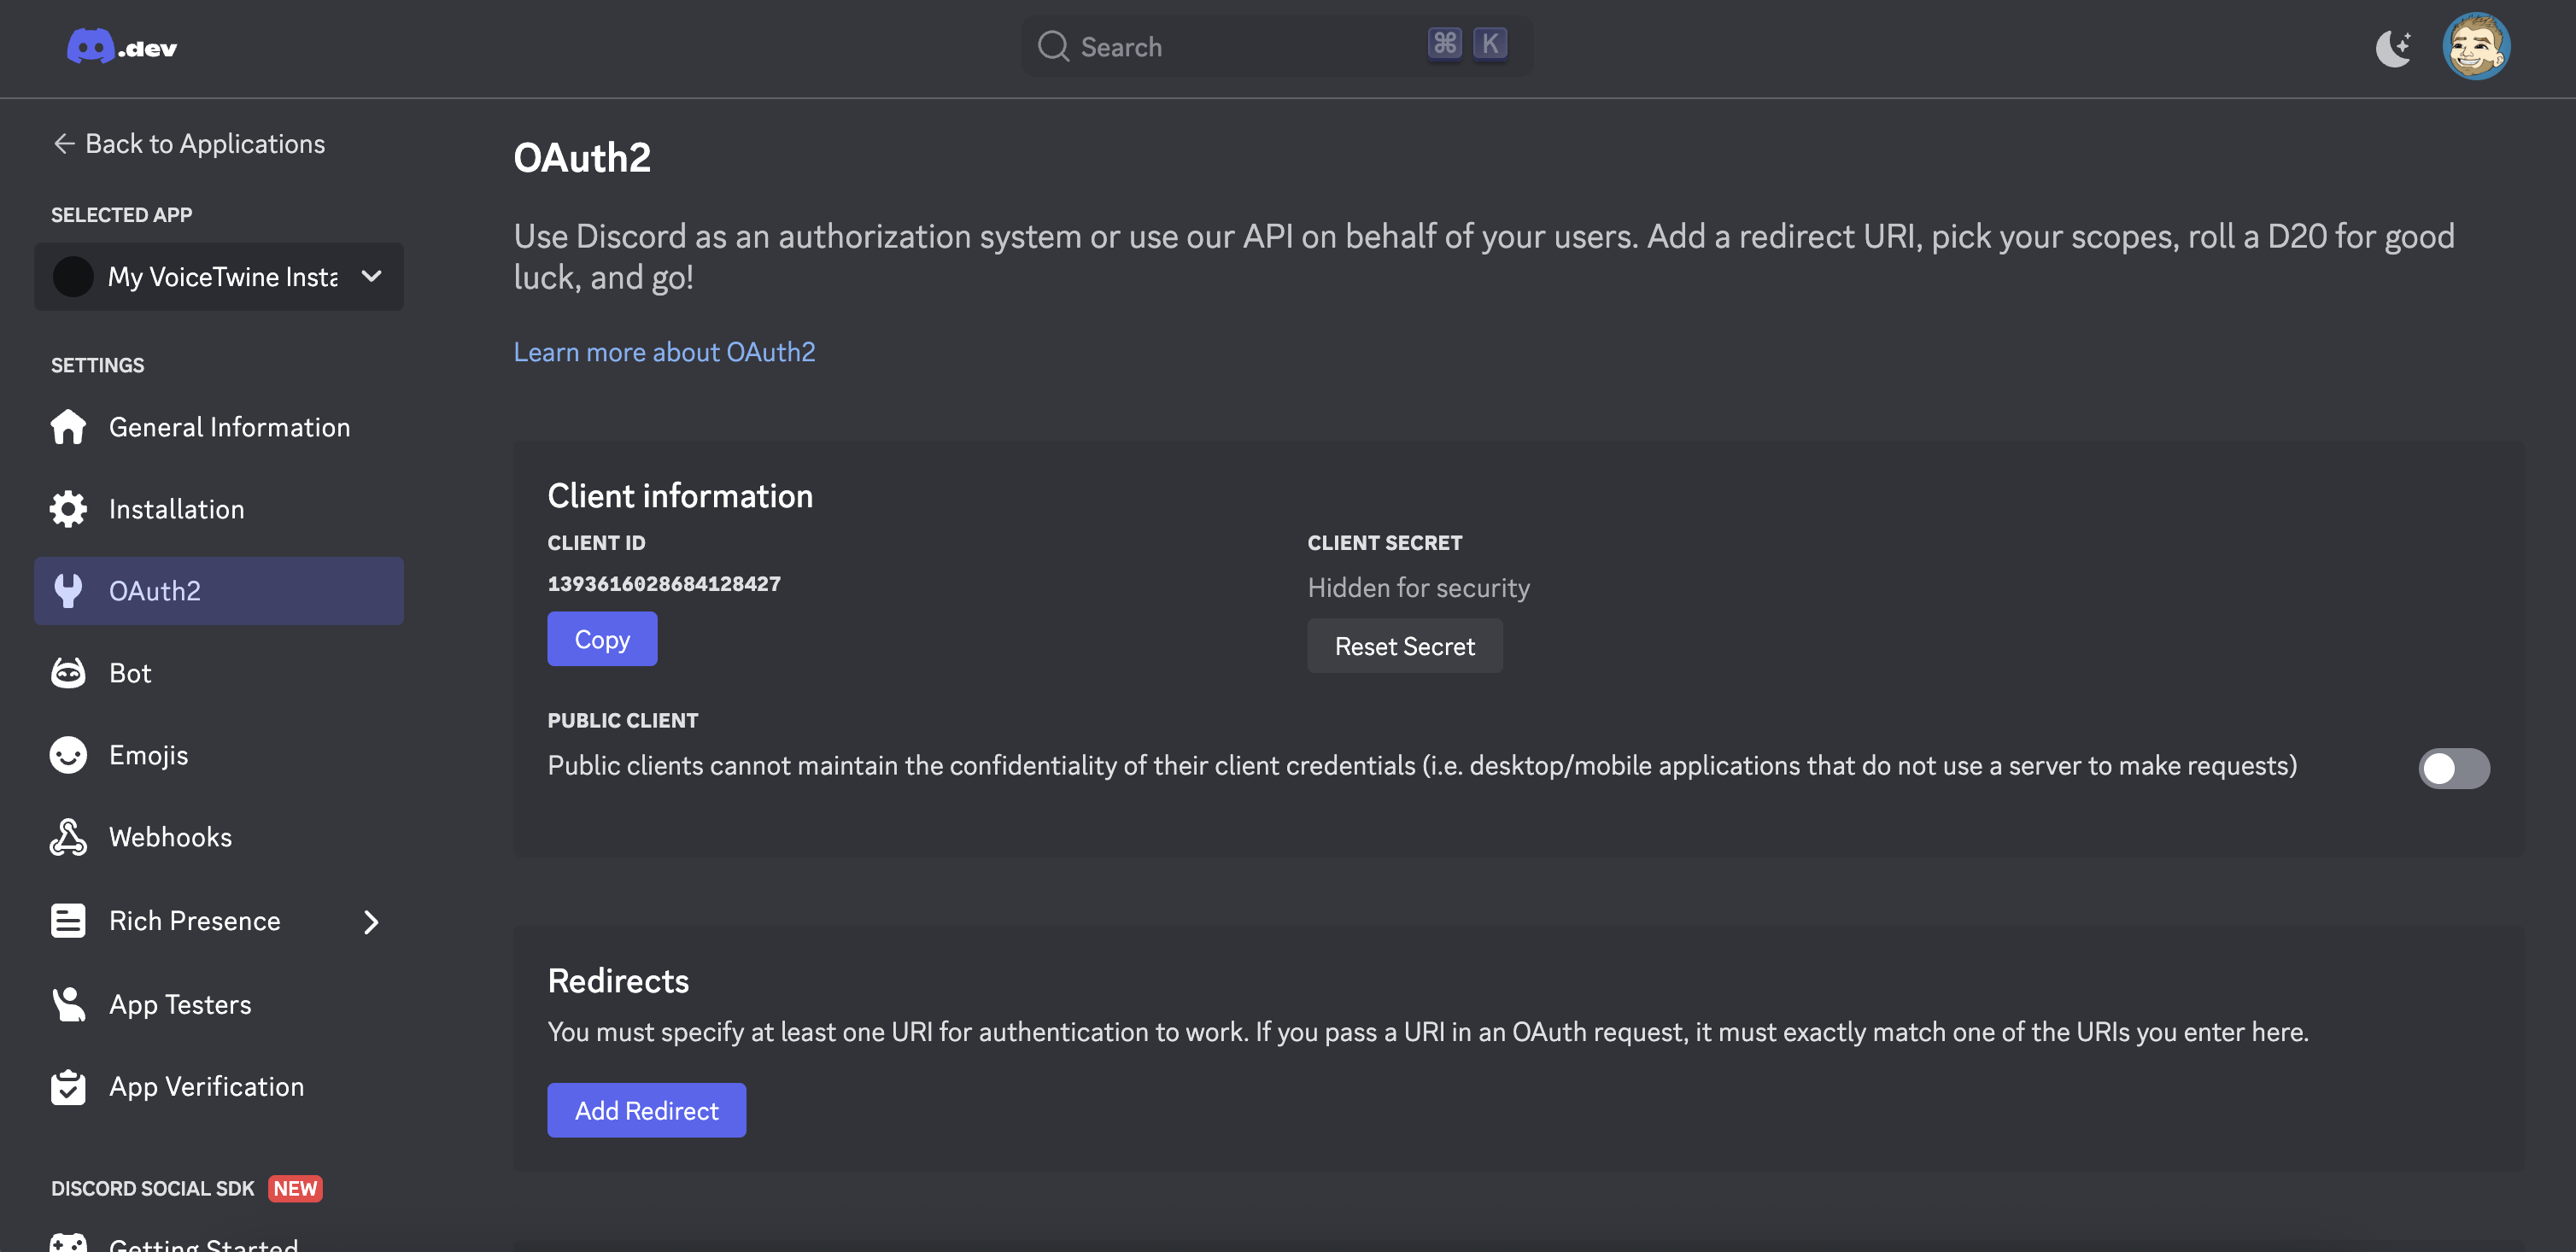
Copy your Client ID (a string of numbers) to your .env file (if using a bare metal installation), or to the Client ID environment variable in Pterodactyl or the PaaS panel under the Startup tab of your installation.
Click the Reset Secret button to get a new client secret, and copy and paste that into the same area mentioned above.
Grabbing your Discord bot token
Head over to the "Bot" tab, and look for the "Token" section near the top of the page.
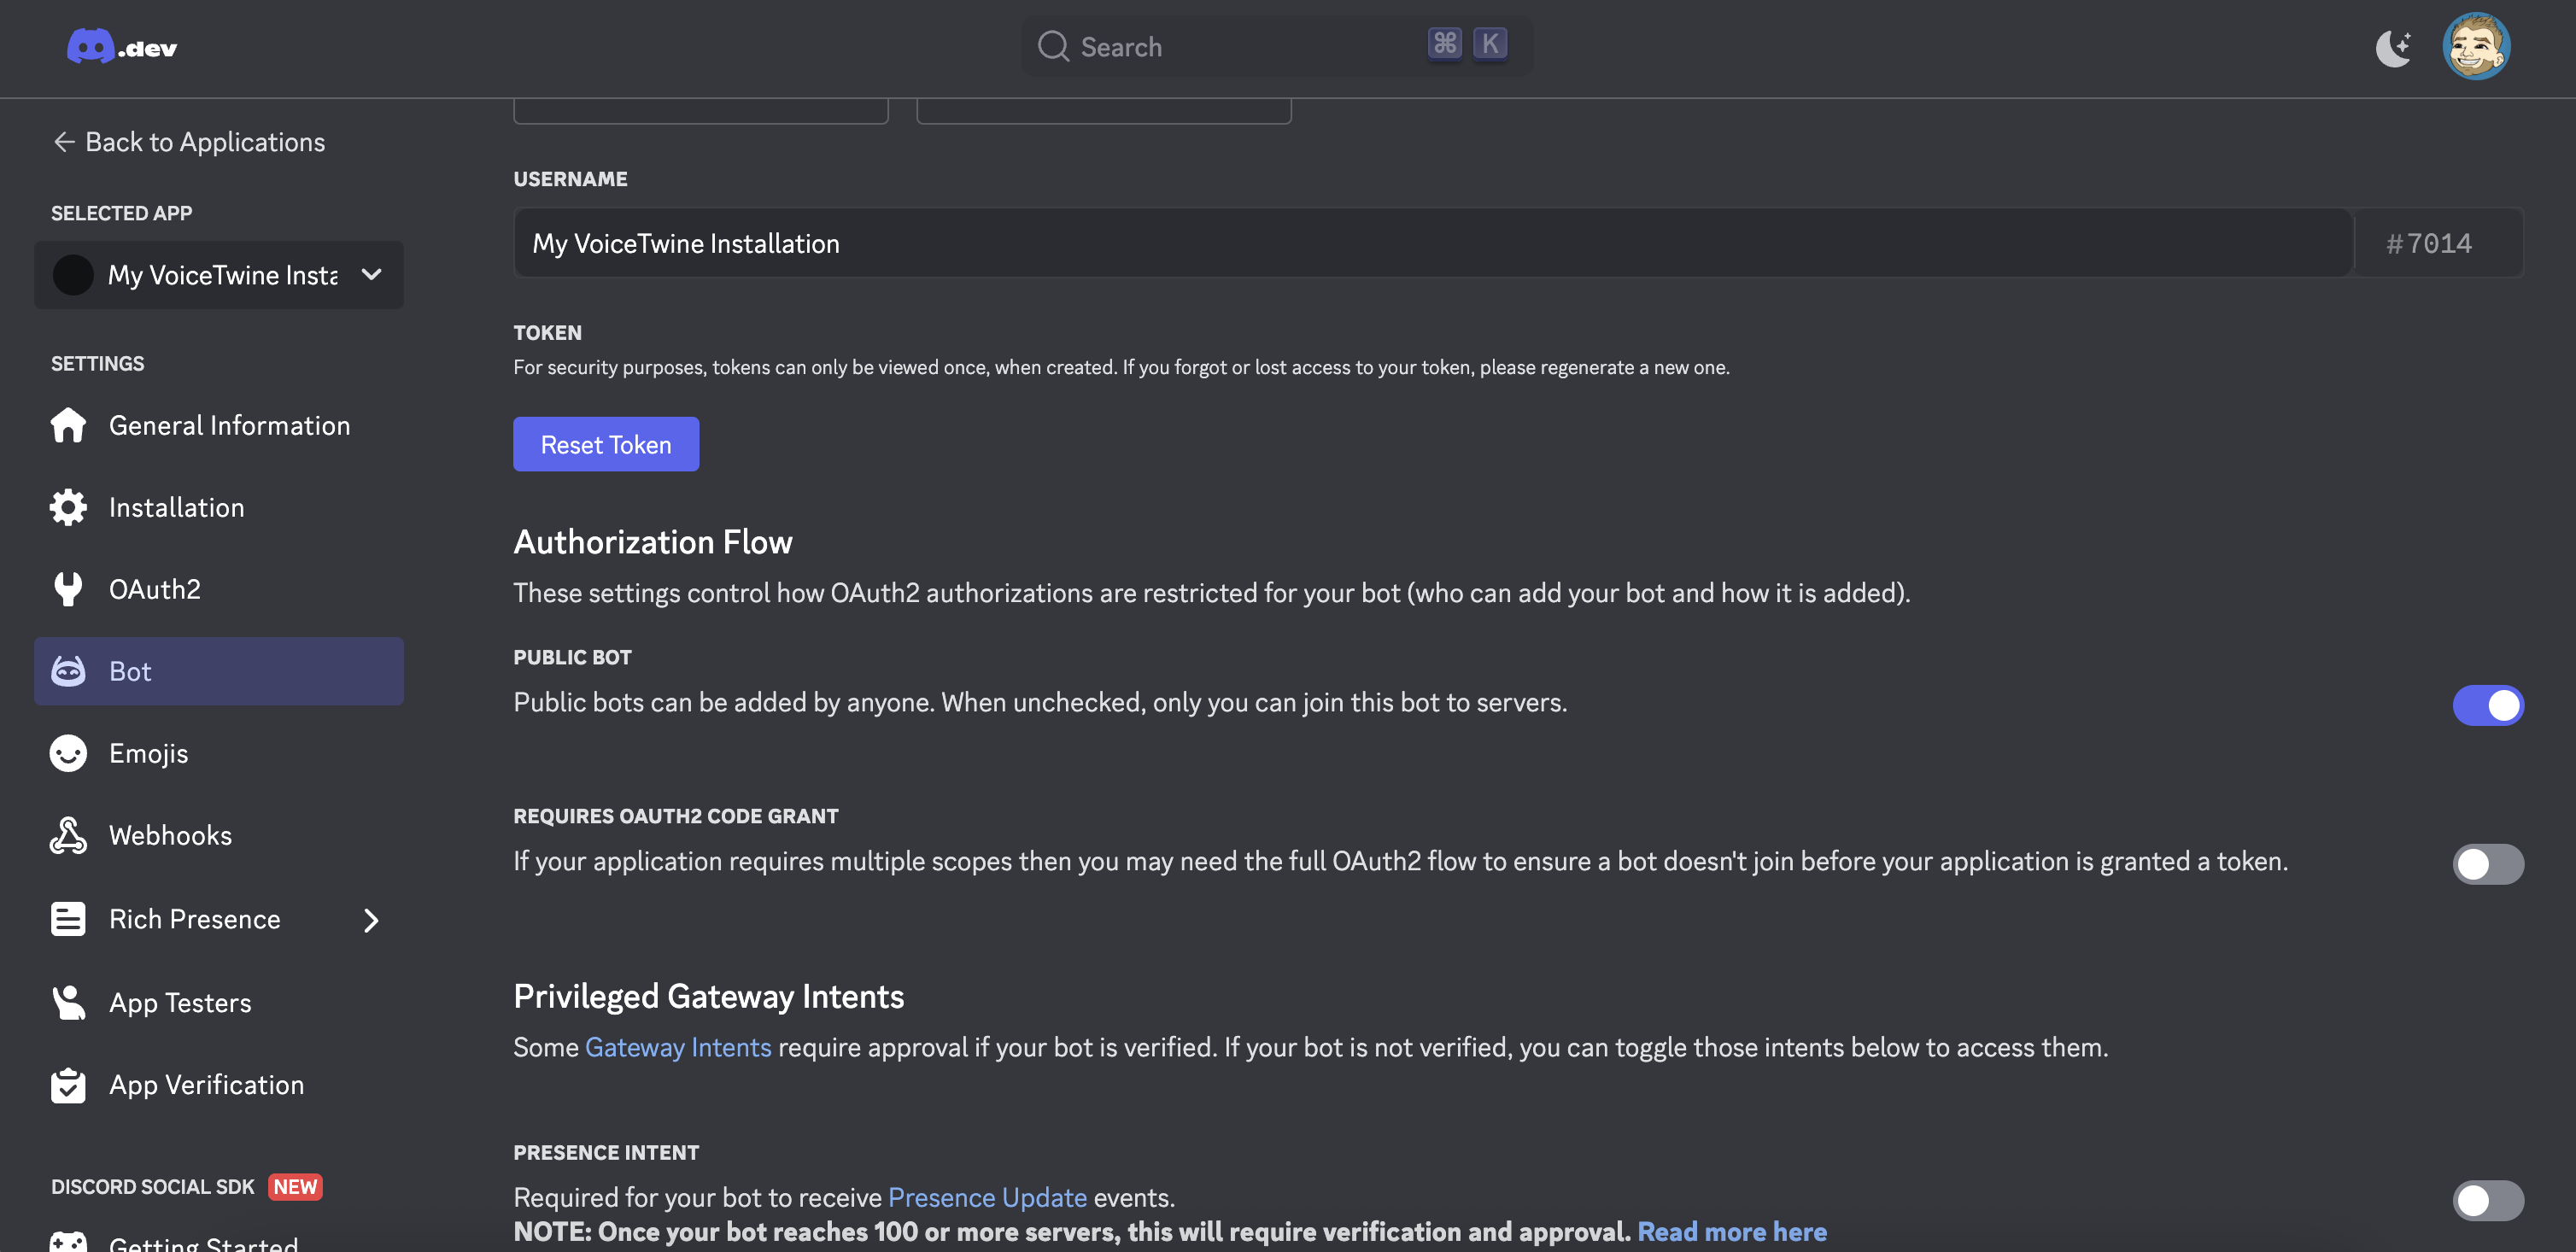
Click on the "Reset Token" button and copy this into your .env file or in your startup variables.
While you're on this page, you might want to configure your bot a little bit more! Here are some suggested changes:
- Customizing your bot profile picture and username.
- Disabling the Pubilc Bot option if you don't want others to be able to add your VoiceTwine installation to their servers.
- Note: No Privileged Gateway Intents are currently necessary for VoiceTwine.
Adding the application to your server
Next up, you'll need to generate a link to add your new application to your Discord server(s).
Head to the OAuth2 tab, scroll down, and find and select the bot and the applications.commands scopes in the Scopes section.
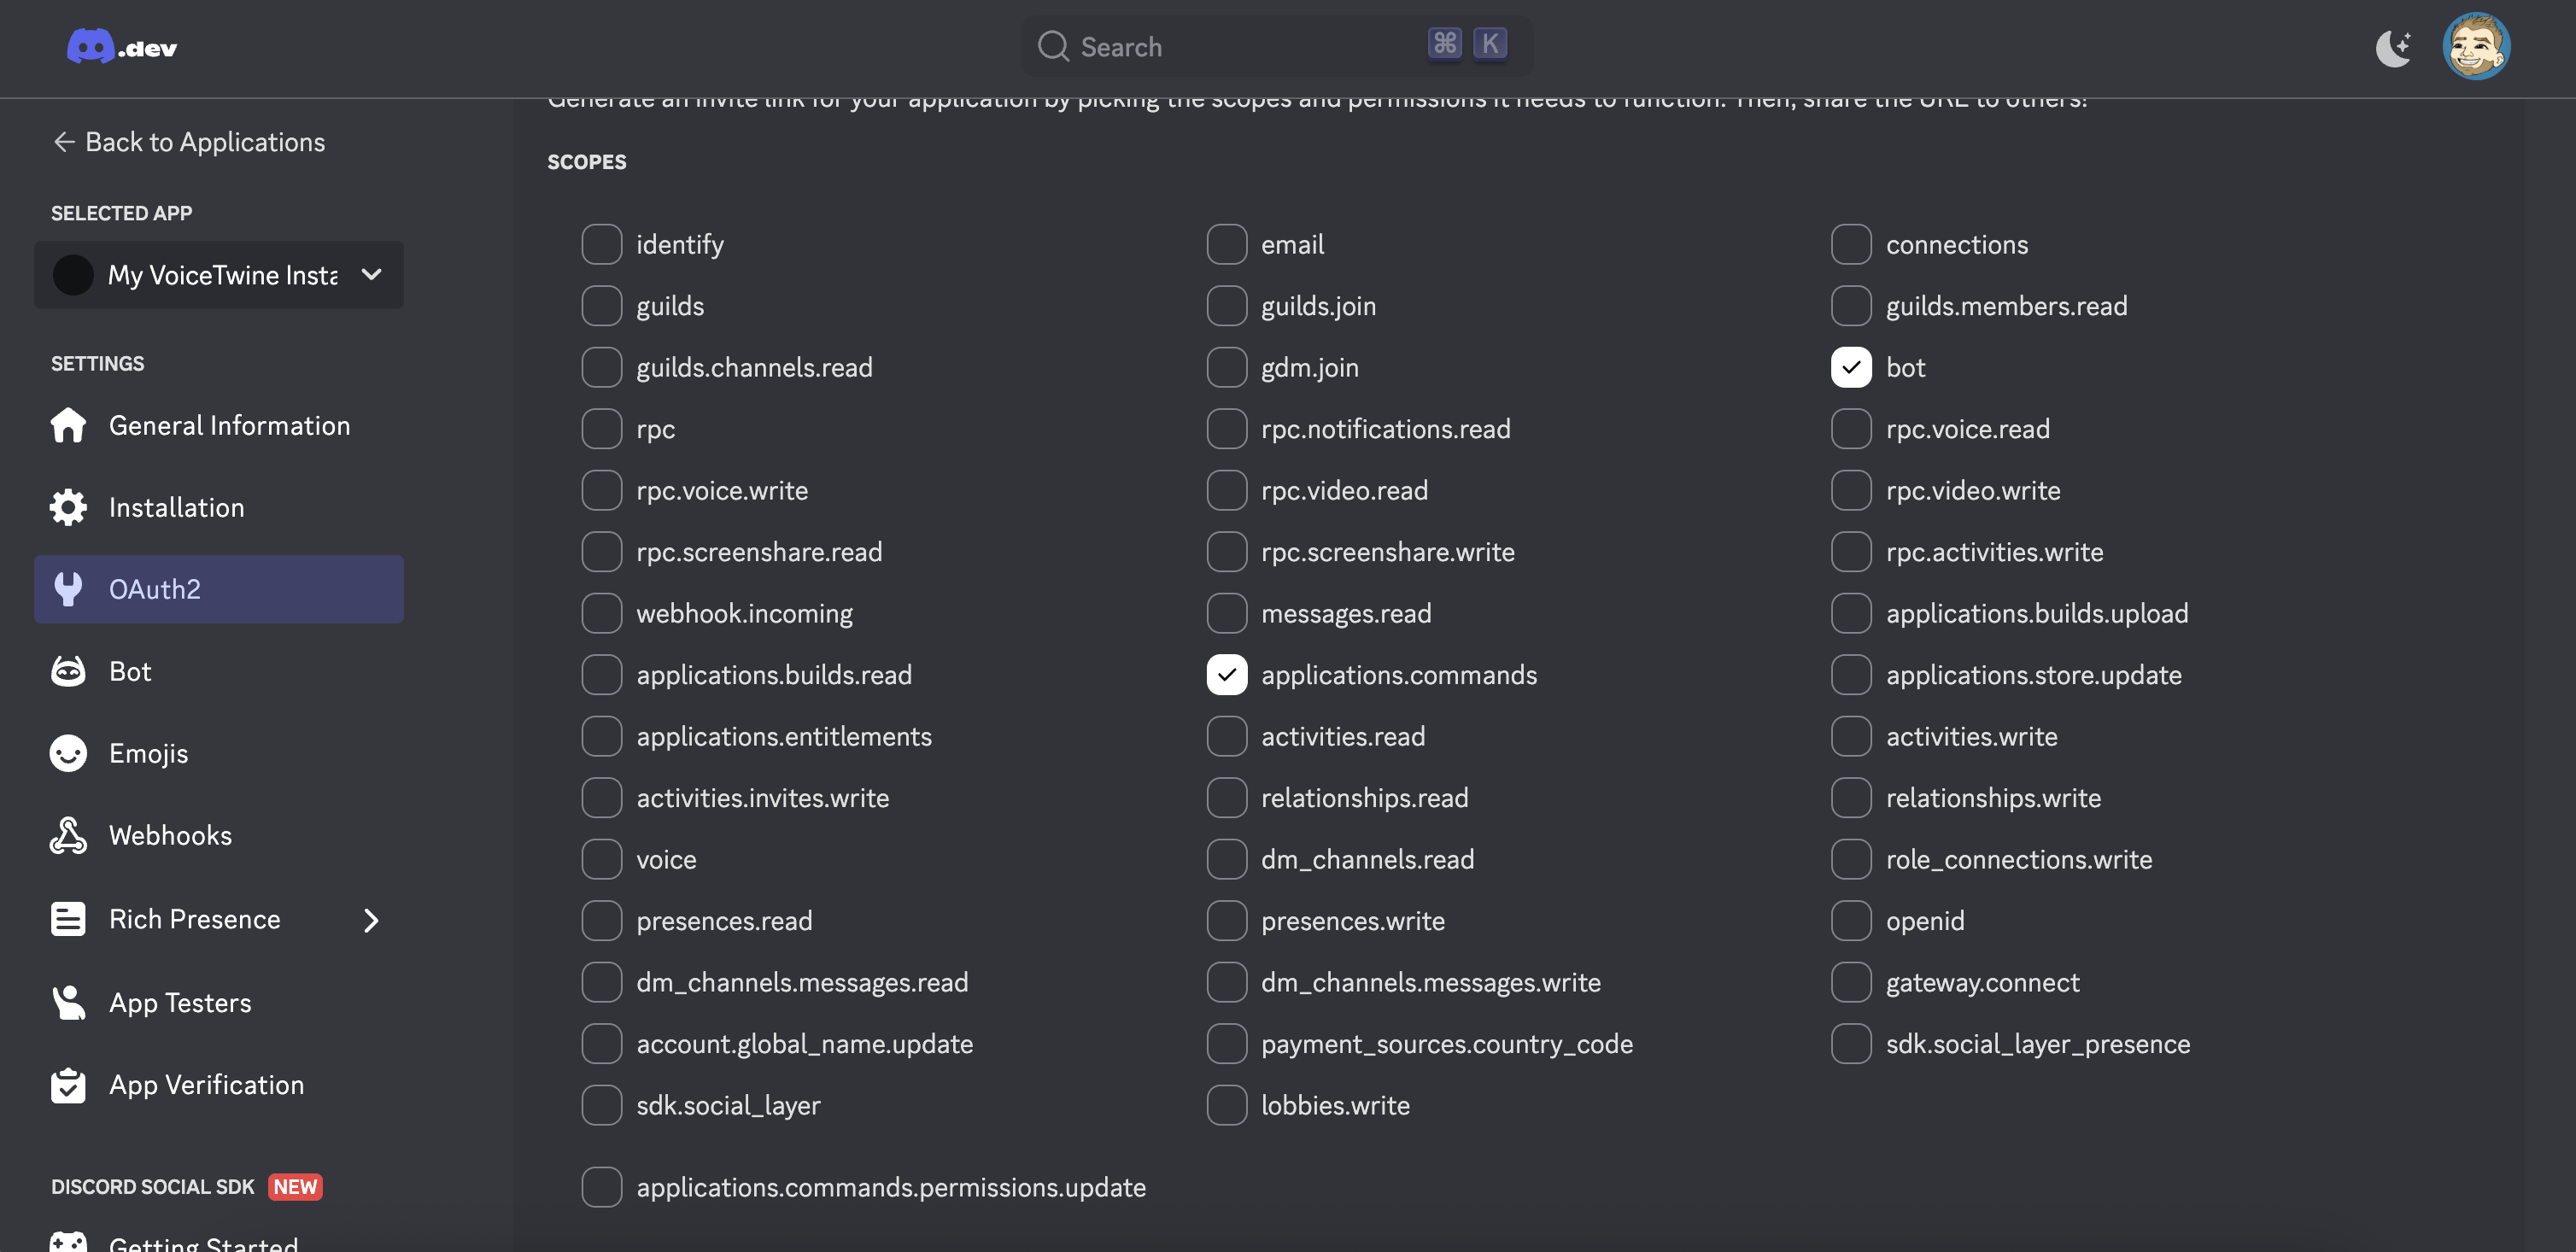
Scroll down to the Bot Permissions section and select Administrator.
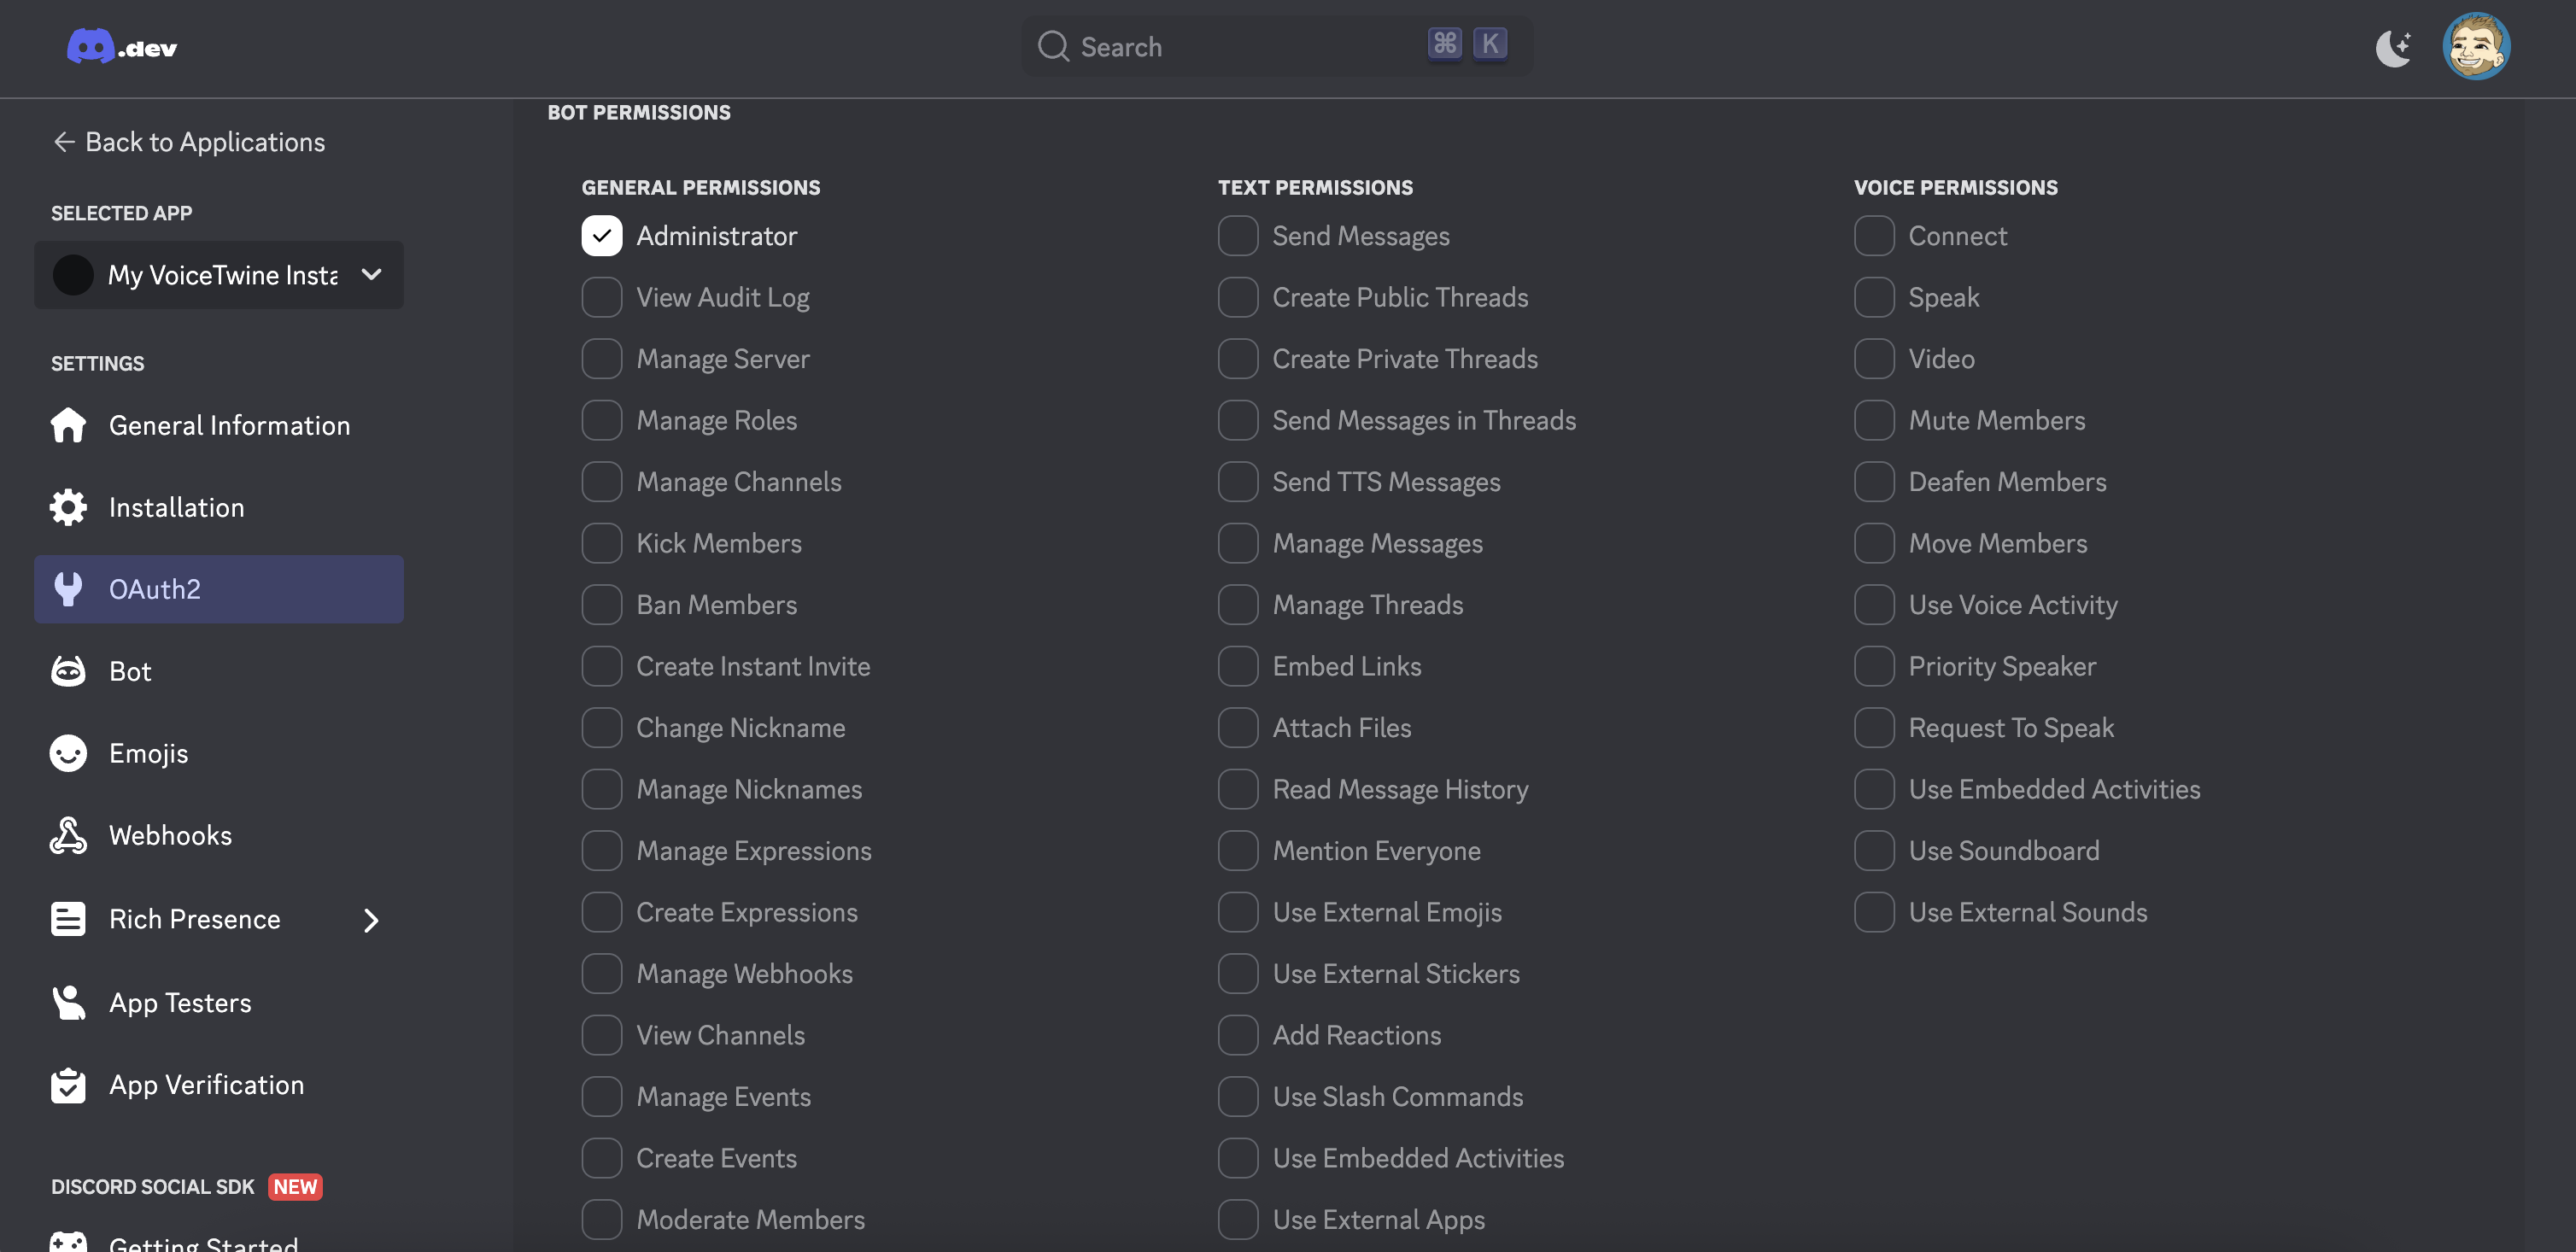
Once selected, scroll down once again and copy and paste the Generated URL into a new tab on your browser.
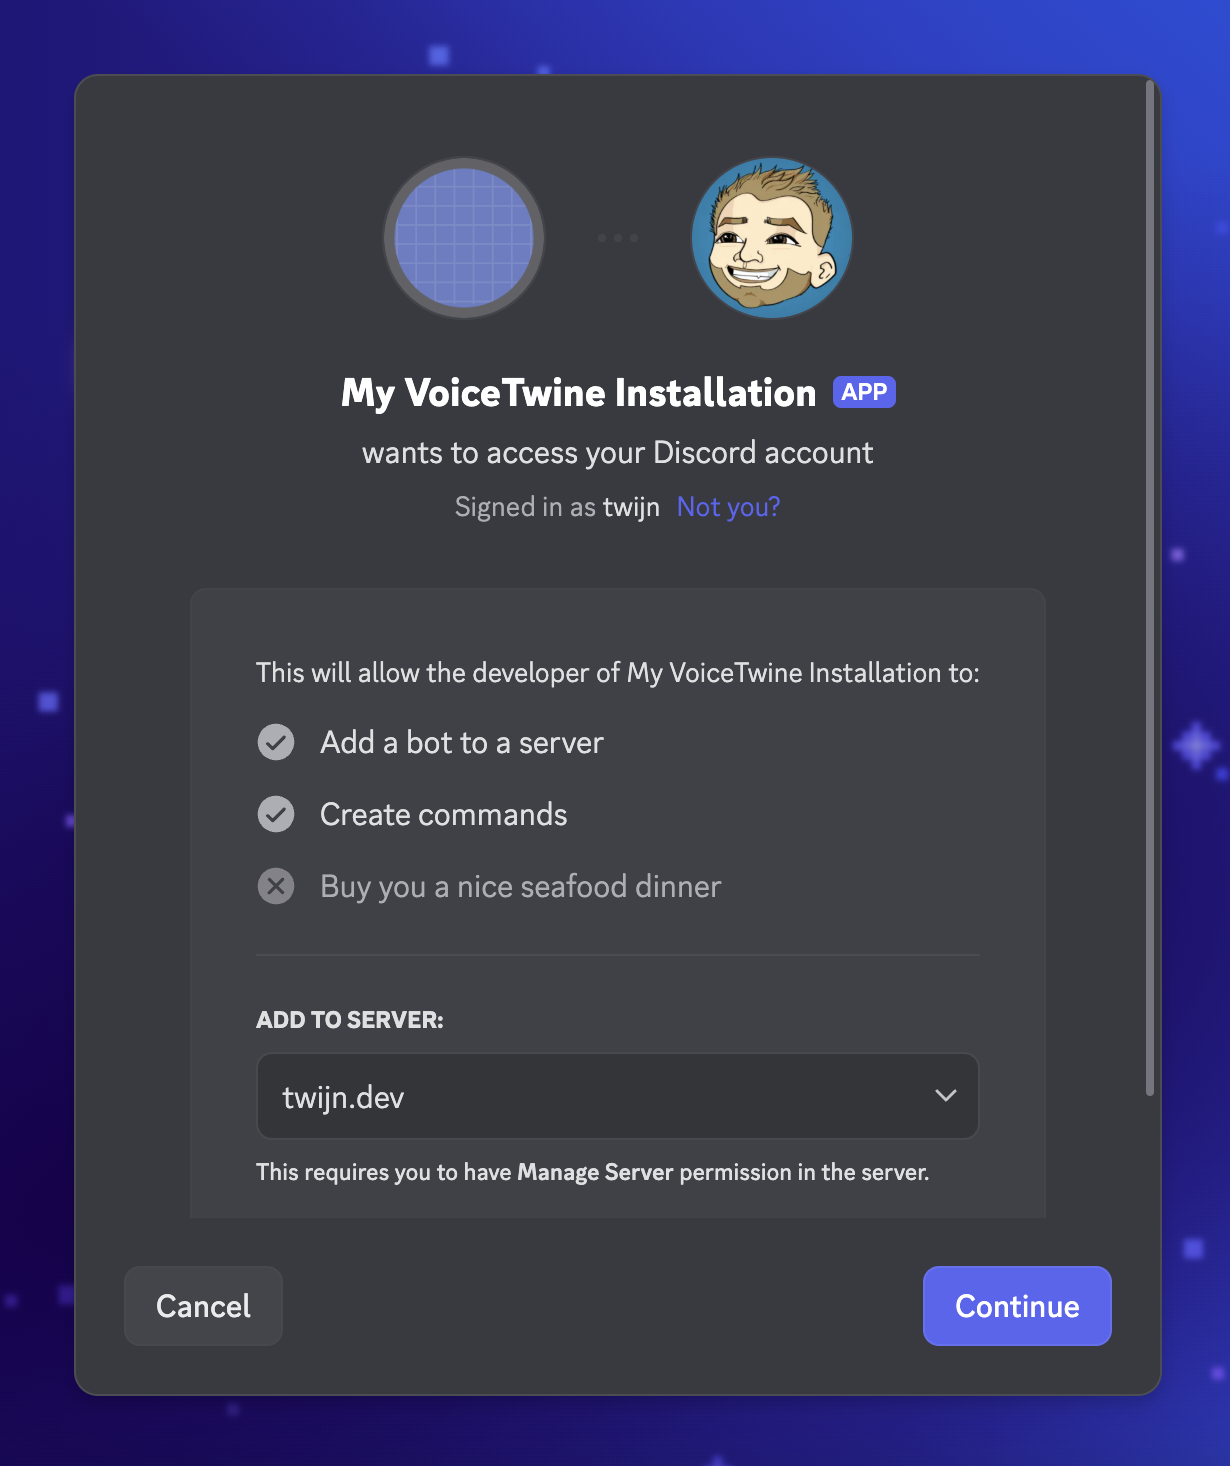
Select the server to add it to and press "Continue" through the next steps.
To add the bot to multiple servers, you will need to paste the URL into your browser multiple times.
Next Steps
Now that you've successfully added the bot to your Discord server, you can now proceed to configuring and setting up a Master Voice channel.